It's 2016, and here's my 1st new kit of the year. Since the stores have ran out of the 1/144, I instead got the 1/100 No Grade Gundam Barbatos from Iron Blooded Orphans. And this will be the 1st WIP post. Time to raise your flag!
 |
| You're like 2 months behind... there's already a new opening song |
Unusual for a 1/100 No Grade, the kit comes with an Inner Frame. The instructions even tell you to build the inner frame first.
 |
| yep, a partia image is enough to show them that |
Some things to note about the kit that separates it from a Master Grade. There's a lone green piece for the eyes and it's molded in solid neon green, instead of MG standard clear.
 |
| It's brighter in real life. This picture is just rubbish |
And a large sheet of foil stickers. I can understand the white bits of the gun to be stickers, but the shoulder armor's yellow bits? C'mon... the eyes are separate for crying out loud.
 |
| he used more fruity words when he opened it |
Anyway, let's start building. We'll start with these parts. Note that the frame pieces have a brown tint to them. It it's more emphasized by the camera.
 |
| Xperia Z2 has a red tinge in low light FYI |
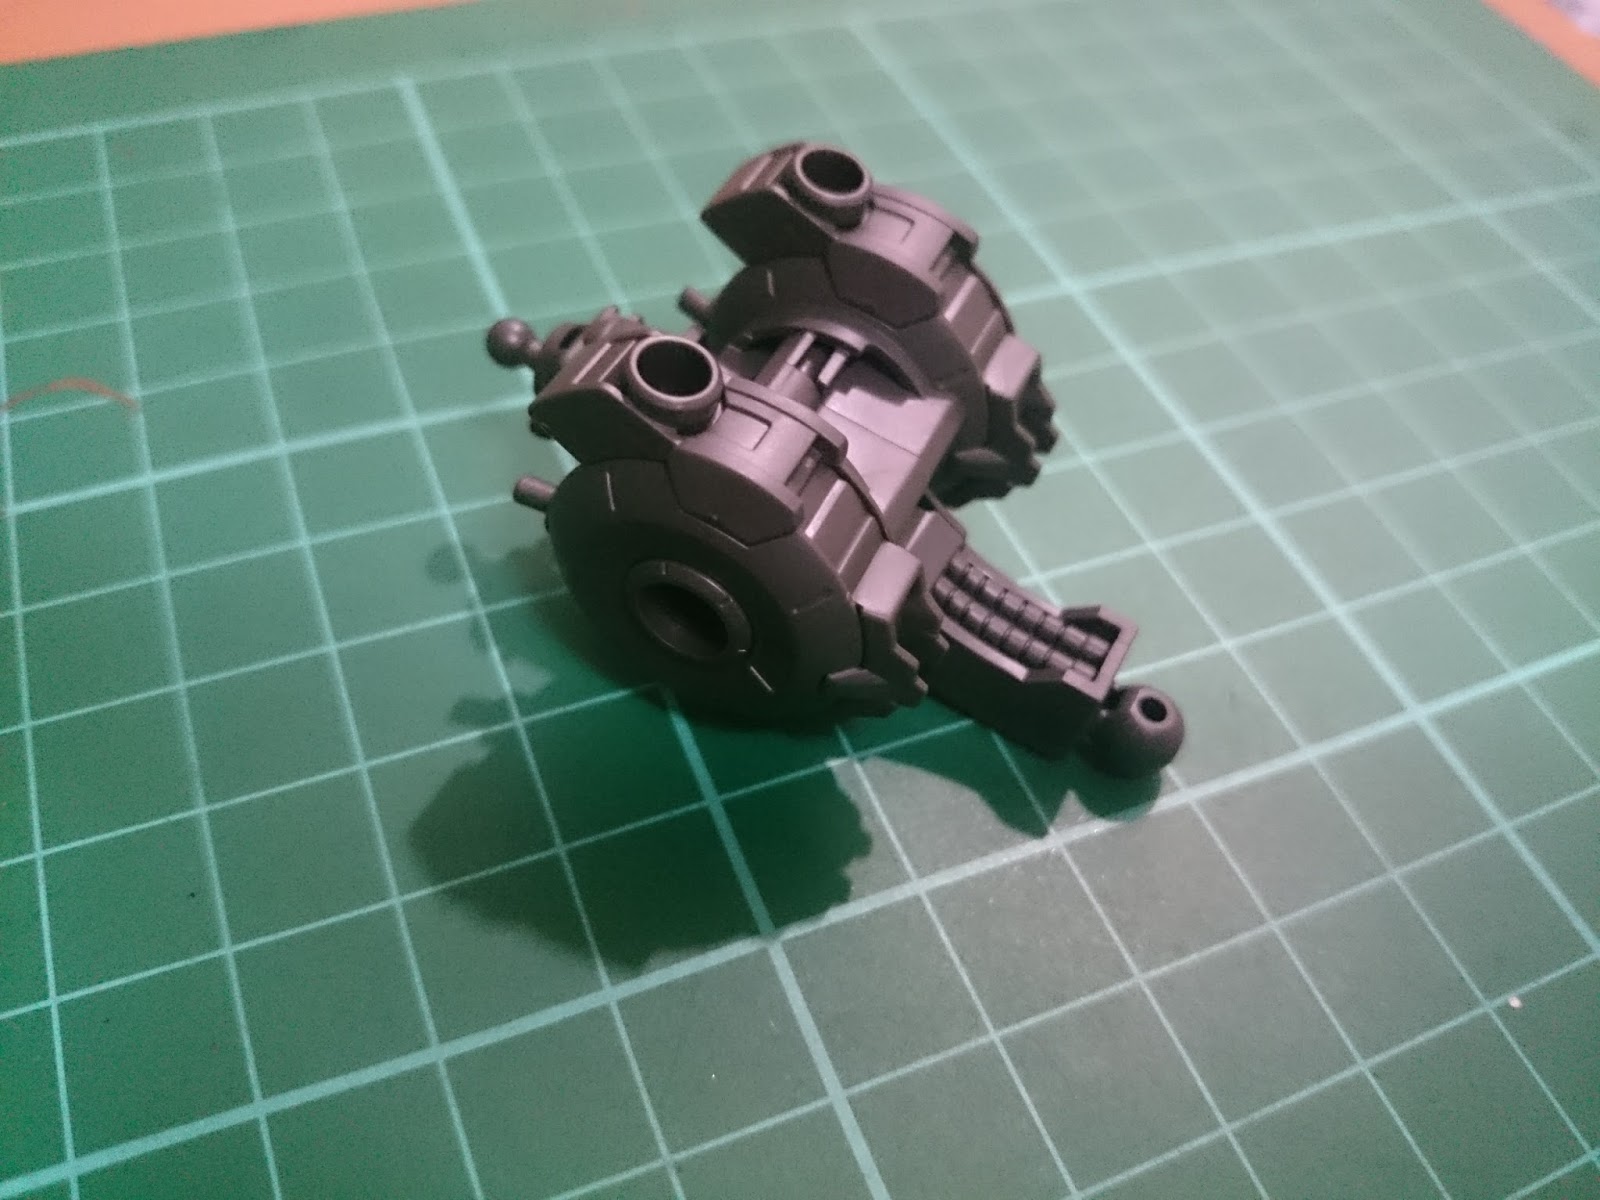
Assemble it and you get what looks like drum brakes.
 |
| subcompact car tech baby |
You'll need to assemble 2 of these...
Then grab these spine looking pieces...
and you'll get a spine.
 |
| thanks captain obvious |
Grab these pieces...
Slap em together to form the neck. See, if the neck can have 3 parts, why not the yellow bits on the shoulder armor??! Honestly?!
 |
| Stop whining and stat building! |
Grab the assembled bits together and... well assemble them together
and you get the main skeleton of the torso.
Time to add more details...
Cables and a central hydraulic pipe for the main spine.
 |
| He needs this in his own spine |
Now for the only functioning hydraulic pieces...
These go in the front bit. At this point, if you move the torso too much, the hydraulics will pop out so be careful.
Now grab these oddly shaped pieces...
and you'll get the shoulder joint where the armor connects to.
Now, foil stickers. I like the quality of these foil stickers. The gold ones anyway. Stick that to the giant chest v-fin.
Looks good!
2 more ornamental hydraulics...
And plug them to the top of the shoulders... and voila, the torso frame is complete.
 |
| He stared at this longer than he should have |
Now get the lone green piece and a frame part.
You'll need to insert the green eyes in the grey holes to form the eyes. No stickers or anything.
Grab the head pieces...
and you'll get most of the head.
Take the polycap and the vfin and plug em in. Interesting to see that most polycaps are hexagonally shaped.
And now the head is completed. Nice to see the gray cheeks are separate.
Normally I'd stop there, but since it's an easy build, let's keep going. We now build a joint...
 |
| don't believe him. the entire frame took him 3 days |
And you get the main shoulder joint. 2 of 'em in fact.
 |
| It's only 2 if you build them twice |
grab these pieces...
and form the upper arm. The pistons are separate, allowing anyone to paint it easily. Also it does not move at all.
Next get the parts for the lower arm...
together with the upper arm and a hand, an they form the entire arm.
Now grab the shoulder piece, and plug it to the completed arm. The hydraulics seem inspired by C3-PO.
 |
| C3-PO has pistons on the front of the arm! |
now last pieces for the upper torso are the shoulder armor pieces.
 |
| he's not sure if they're connectors to the actual armor yet. |
And we now have the completed upper body.
Still interested? Let's now build a crotch. Grab a piece and a polycap
sticker in some gold foils...
... for it to look like this.
and grab more pieces...
and we now have a crotch. The hip assemble allows it to move side to side like most modern HG.
Now grab these...
 |
| day 3, emphasized by the missing cutting mat |
And form the heel.
and now these pieces...
... form the skull of a giraffe
 |
| or android Sarah Jessica Parker |
Now grab these pieces...
And you get a completed foot. Assemble 2x.
Normally the leg frame is the most complicated and tedious in MGs. But not this one. Just 4 pieces for the thighs.
 |
| yep... those sure look like 4 pieces. |
and you get a rather well detailed thigh.
grab the 2 massive leg frames and the ankle joint. A bit of a departure in that the lower legs have sparse details.
 |
| as sparse as his love life. Heyoooo |
You'll need a foil sticker for the bottom part of the leg
Now grab the hip joint parts...
apply the stickers...
 |
| looks like someone stuck a pair of thumbtacks in it |
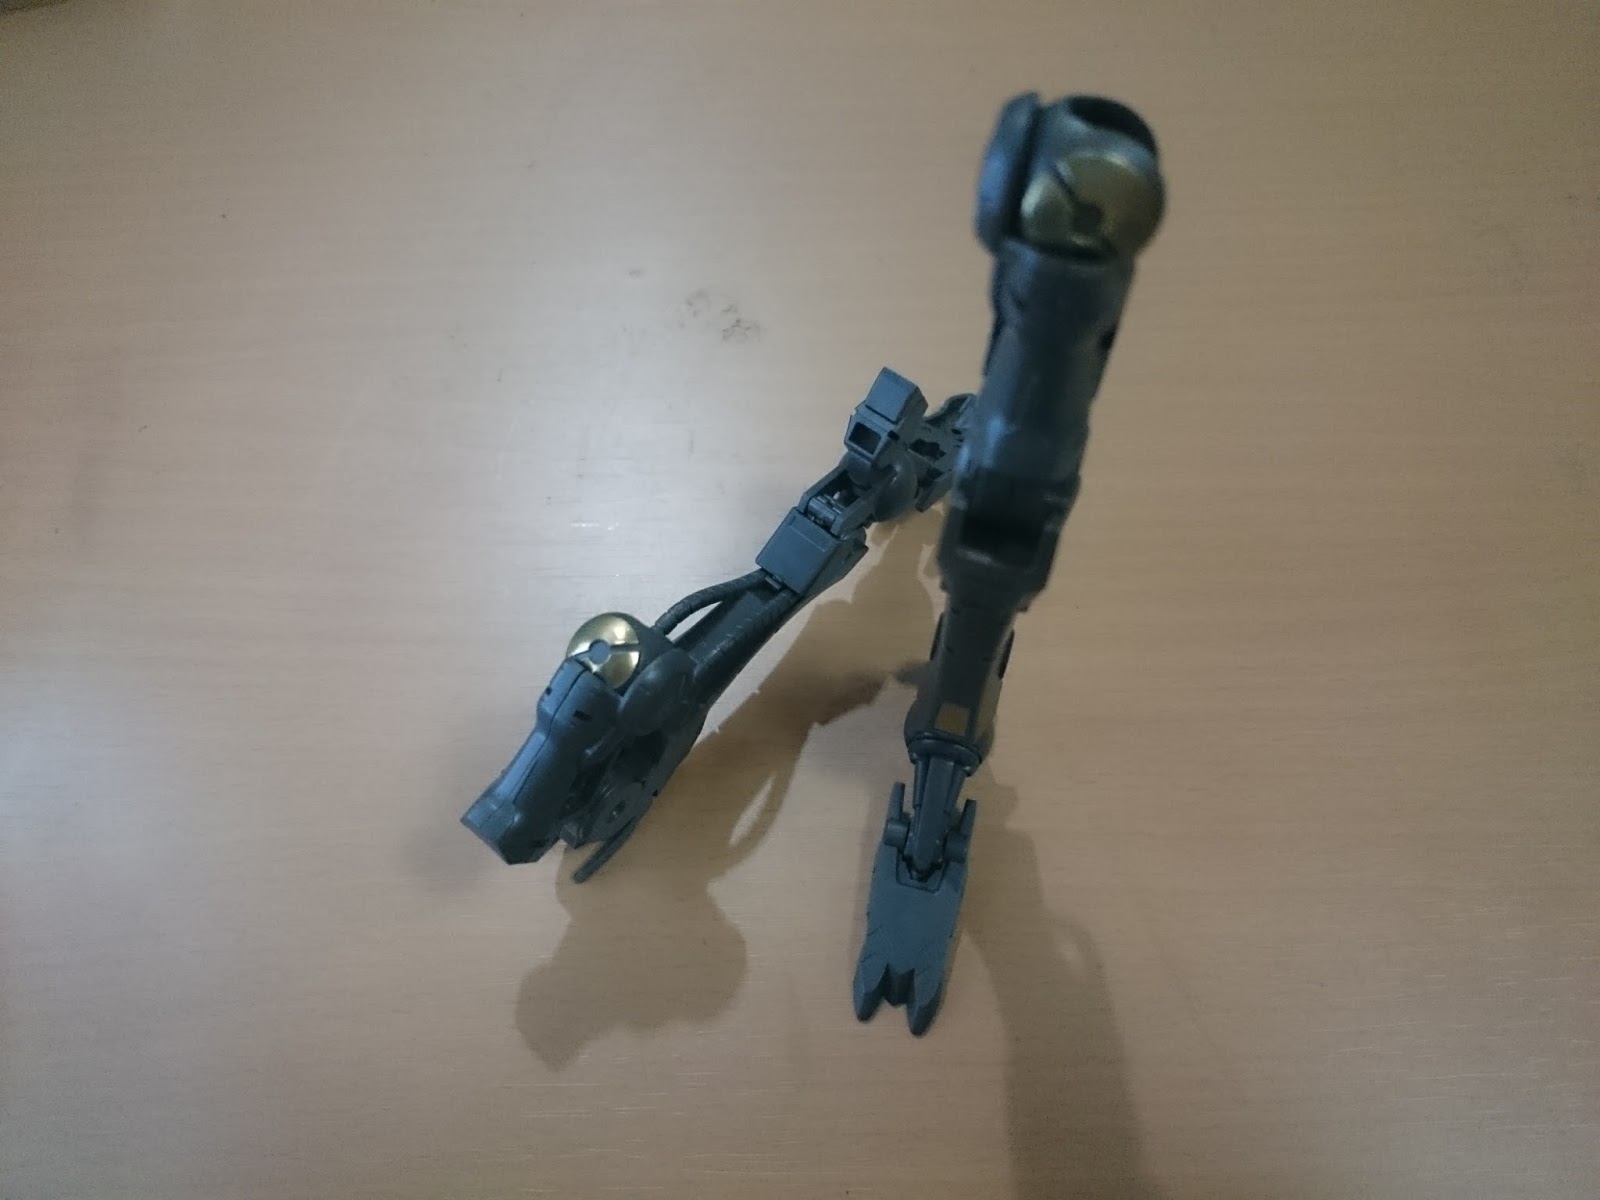
And you're now set to assemble the entire leg (2x of course).
 |
| these balls look more manly than him |
And voila, assembled legs. Pretty good range of motion so far.
Put them together with the waist for form the lower torso.
And join the upper torso to form the complete frame. For something that looks quite good, the assembly is easy. Wish more 1/100 kits were this easy.
 |
| If all kits were this easy, then there'd be no master grades... |
And i'll end it here. I need to buy clear red for my Tryon 3 and drool over this wall of bots in the mean time...
 |
| He literally spent all of his toy money on a tablet he rarely uses. Hahahahaha |


No comments:
Post a Comment