 |
| Captain Picard approves |
The kit is basically a high grade. It consists of just 5 plates, and comes mostly in black (duh). The blacks though are in different textures: gloss (helmet, trim pieces), less gloss (the suit), matte black (cape) and a black plastic that's slightly metallic from what I can see. And a single red piece for the light saber (or as George originally calls it, laser blade).
 |
| A plate |
 |
| B plate |
 |
| C1 plate |
 |
| C2 Plate |
 |
| stand and polycaps |
Not in the picture is the waterslide and sticker sheet for the details such as the chest buttons, black trim and the gold trim in the head.
With that said, we'll start with the head. It comes in 5 pieces.
 |
| Assemble me heathen! |
Some details are needed to be painted and some needs to be stickered. The neck studs needs to be painted, since Bandai does not give you stickers for those. So I used a silver paint marker to dot those in.
 |
| Studs on the collar. Kinky |
The next step is the gold contact pads (?) I initially used the water slides, but the border of the water slides are larger than the actual area they cover, so they don't sit properly without a mark softer (which I don't have). I used the sticker instead, but if you have a pointed gold pain marker, I would suggest to use that instead. You also need to paint in the "tips" of the mouth piece.
 |
| Heavy Breathing |
After putting it all together, you get a very accurate Darth Vader head (forgot to take a pic x.x)
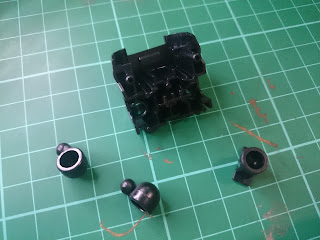
Next is the body. Take the front half of the body and 3 polycaps...
Sandwich the bar used for the cape...
Add the cloth pieces and the neck...
Now take the collar (?) and either use the sticker or the water slide. The piece has contours that makes stickers difficult to apply, but the sticker is thin enough to contour, but not 100% perfect. Waterslide is ideal of course, if you have a Mark Softer to melt it.It gives the collar 2 shades of black, similar to how the Nu ver. Ka and Sazabi ver.Ka uses the thin stickers to give it multiple shades of the same color.
The chest breathing apparatus comes in all black. If you need a superbly painted piece, go buy a figuart or the revoltech, because the sticker does not sit in the details, and if you play with it, it'll start to peel off.
So I went ahead with my sharp pointed paint marker and painted it silver. Gundam marker for the blue and tamiya acrylic for the red...
Oh and you need to build the Dark Lord's tummy.
And this is what I currently have.
Not as clean as I would have wanted :(


No comments:
Post a Comment