Now that we have the Inner frame assembled, time to finish up by bolting the armor to the frame. Let's assemble the final Gundam!
Let's start where we take off. You can disassemble the frame into parts if you want, but the instructions does not require that. Any way lets start with these parts...

Remove the ball joint connecting to the torso and plug it to the sides.

And then plug it back.
And plug it into the nape.

Then grab the chest piece and use the Gawdawful stickers... They don't even fit into the cavity they're made... and it's pink rather than red.
And you get the Lower chest.

Then grab the blue piece...

And you plug the blue piece 1st, and then plug the lower chest to the blue piece. The lower chest does NOT plug into the frame.

Next, grab the face plate, and remove he v-fin. This is the only part of the frame that you need to set aside. Given how large the V-fin, I think they can put the yellow over top the grey piece.
And you get the beginning of the what makes it look like an actual Gundam.
Grab the side armor and vents. It's nice to have these as separate pieces...

And then grab the red chin part.

And then put them in the head.

Then grab the V-fin and the head piece.

And you get the completed head.

Arms next! Remove the hands 1st though...

Grab the armor for the arms...

And grab the only blue pieces for the arms.

And voila! You get the completed arms.
Notice how the armor starts limiting the movement...

And you now we have arms.

And now for the most disappointing part of the build... the shoulder armor. Grab these pieces...

Clearly there is enough space to have the yellow bits separate... and it ISN'T!! Instead they give you this crappy sticker that does not even fit right!
Here's the completed shoulder armors. See how the yellow bits com short. Also it's one giant sticker. It's not separated, so you get this awkward creases and folds on the lower ridge. The red sticker also does not fit well... Onore Bandai!!!
sigh.. anyway let's put those on the Gundam.
Now for the legs... start with the leg boosters.

There are no joints, so they are static thrusters.
Grab the huge shin armor and the yellow vent..

sticker em up with the crap sticker.

and you get the completed shin armor.

Grab the red foot part, and the thigh part...

And put them on the leg frame.

Now for the "back of the leg" pieces...

And plug 'em on the back of the leg!
Grab the heel, and sticker it up. And no it does not conform properly...

And graab the front foot armor and the ankle armor.

And you get the completed leg.
 Almost there!

Get the side skirt pieces...

Looks like Thrudgelmir's parts.

Grab the lone back piece.

And plug them all in the Gundam.

Now grab the front skirt pieces...


Grab the crotch piece...

And plug them together. You may need a tool to plug them together properly.

Grab the red piece. This piece actually locks the front skirt, and not the actual front cod piece.

And we have completed front armor.

And plug the armor and we have an almost completed Gundam.
Last is the backpack. Grab the grey pieces and sticker up the white bits. Again no, this does not fit well.

Grab these 2 pieces

Swivel the white piece so that the ports are on top.

And grab the rest of the back pieces and the assembled pods.

And we now have the completed Backpack. The central piece swivels.

And plug it to the Gundam and we're finished!

It's a Gundam!


Last are the weapons... but first assemble the holding things hands.

Grab these 2 pieces...

And you get the full sword. It's solid gray, but I'm fine with it.

The handle has a peg that pegs in to the slots in the hand.

And you get an extra piece to store the sword to the backpack.

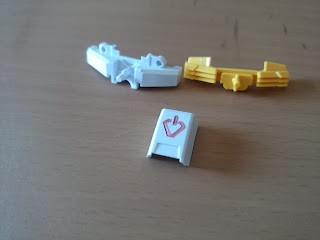
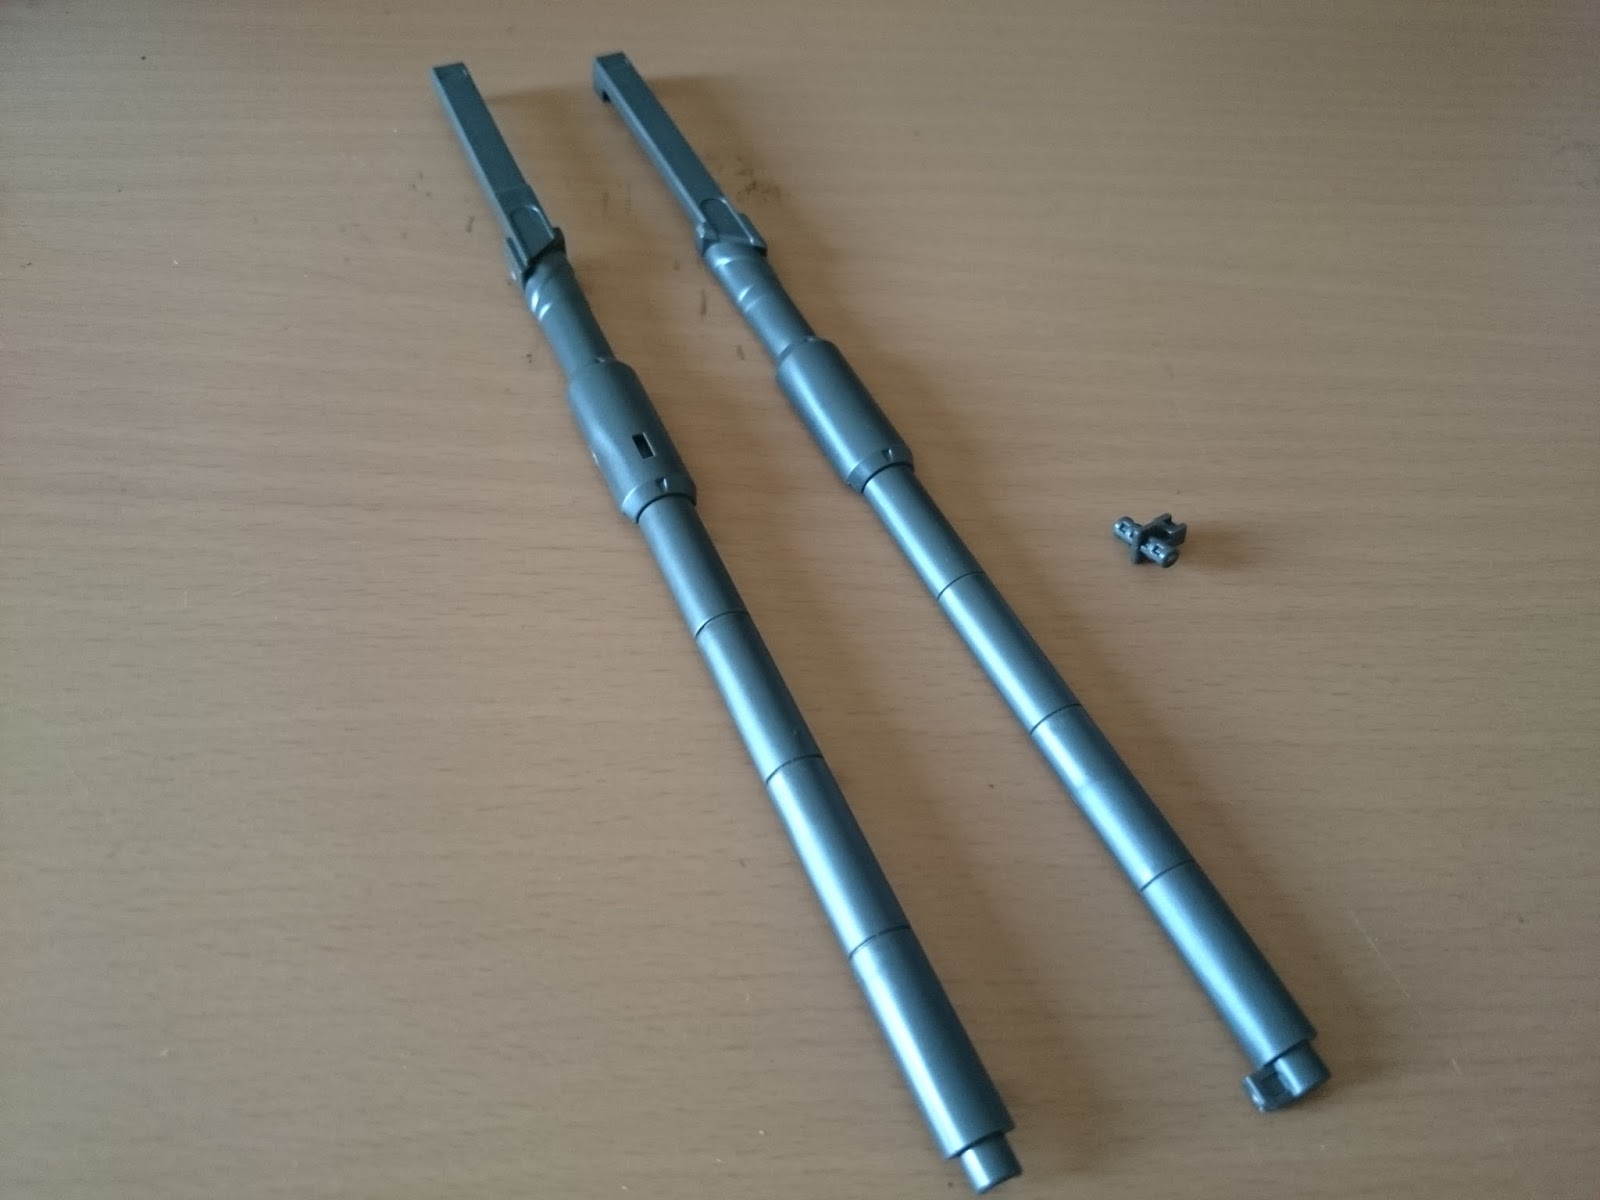
And last, grab these 2 giant pieces and the tiny sliding piece.

And you get the barrel. And sticker them up. I was expecting it to be rubbish, and it is!
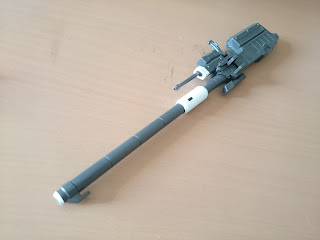
And now grab the 2 pieces that forms the main body and the tip of the barrel. And you need to sticker up the tip of the barrel.

You now get the makings of the BFG!

The BFG houses a small gun, so grab these 2 pieces.

You assemble it around the BFG. Oh and sticker it up. And no, it does not fit.
Grab the remaining pieces...

And you get the finished gun.
To compact it, extend the barrel...
Slide it to the side...

And flip it 180 and peg the barrel to the gun's body.

And you get compact mode.

And you get a piece to mount it to the back.

And, well, mount it on the back.

And now you have all the accessories on him. And yes, I'm disappointed on the lack of the mace.
No it does not end there. Remove the back pod covers and snip off the extended grey bits. So you get more parts set to the side.

Now grab these pieces...

And you get an arm.

From there you can mount the extended pod so he can wield the gun.

It's not a very solid connection though. There's not enough friction to securely hold it in the sockets, which makes wielding the gun incredibly frustrating.
With that, the kit is done. Hopefully a review to follow! I also completed this other thing.
 |
| It's a Gundam! |
Let's start where we take off. You can disassemble the frame into parts if you want, but the instructions does not require that. Any way lets start with these parts...

Remove the ball joint connecting to the torso and plug it to the sides.

And then plug it back.
 |
| Wow! Progress! |
Now grab the nape piece.
 |
| Thanks wikipedia! |
And plug it into the nape.

Then grab the chest piece and use the Gawdawful stickers... They don't even fit into the cavity they're made... and it's pink rather than red.
 |
| This is the 1st of his rants |
Then grab the yellow vents and the other piece

And you get the Lower chest.

Then grab the blue piece...

And you plug the blue piece 1st, and then plug the lower chest to the blue piece. The lower chest does NOT plug into the frame.

Next, grab the face plate, and remove he v-fin. This is the only part of the frame that you need to set aside. Given how large the V-fin, I think they can put the yellow over top the grey piece.
 |
| Rant number 2! |
 |
| He stared at it longer than he should... which seems to be a theme |

And then grab the red chin part.

And then put them in the head.

Then grab the V-fin and the head piece.

And you get the completed head.

Arms next! Remove the hands 1st though...

Grab the armor for the arms...

And grab the only blue pieces for the arms.

And voila! You get the completed arms.
 |
| You said earlier to just remove the hand... |

And you now we have arms.

And now for the most disappointing part of the build... the shoulder armor. Grab these pieces...

Clearly there is enough space to have the yellow bits separate... and it ISN'T!! Instead they give you this crappy sticker that does not even fit right!
 |
| He was cursing the entire time building the shoulder armor |
 |
| If this bothers you... wait for an MG |
 |
| defeated acceptance. hahaha |

There are no joints, so they are static thrusters.
 |
| No joints=static? Genius |

sticker em up with the crap sticker.

and you get the completed shin armor.

Grab the red foot part, and the thigh part...

And put them on the leg frame.

Now for the "back of the leg" pieces...

And plug 'em on the back of the leg!
 |
| thanks cap'n obvious |

And graab the front foot armor and the ankle armor.

And you get the completed leg.


Get the side skirt pieces...

Looks like Thrudgelmir's parts.

Grab the lone back piece.

And plug them all in the Gundam.

Now grab the front skirt pieces...


Grab the crotch piece...

And plug them together. You may need a tool to plug them together properly.

Grab the red piece. This piece actually locks the front skirt, and not the actual front cod piece.

And we have completed front armor.

And plug the armor and we have an almost completed Gundam.
 |
| You said that several pics ago |
 |
| This is the last he complains about the stickers |
This completed the side pods.

Grab these 2 pieces

Swivel the white piece so that the ports are on top.

And grab the rest of the back pieces and the assembled pods.

And we now have the completed Backpack. The central piece swivels.

And plug it to the Gundam and we're finished!

It's a Gundam!


Last are the weapons... but first assemble the holding things hands.

Grab these 2 pieces...

And you get the full sword. It's solid gray, but I'm fine with it.

The handle has a peg that pegs in to the slots in the hand.

And you get an extra piece to store the sword to the backpack.

And last, grab these 2 giant pieces and the tiny sliding piece.
And you get the barrel. And sticker them up. I was expecting it to be rubbish, and it is!
 |
| Nope. Not the last rant after all! |

You now get the makings of the BFG!

The BFG houses a small gun, so grab these 2 pieces.

You assemble it around the BFG. Oh and sticker it up. And no, it does not fit.
 |
| This is driving him insane! and I love it! |

And you get the finished gun.

To compact it, extend the barrel...
 |
| it's happy to see you |

And flip it 180 and peg the barrel to the gun's body.

And you get compact mode.

And you get a piece to mount it to the back.

And, well, mount it on the back.

And now you have all the accessories on him. And yes, I'm disappointed on the lack of the mace.
 |
| Mace >> Sword |

Now grab these pieces...

And you get an arm.

From there you can mount the extended pod so he can wield the gun.

It's not a very solid connection though. There's not enough friction to securely hold it in the sockets, which makes wielding the gun incredibly frustrating.
 |
| Nice pants! |
 |
| Tryooooon Threeeeee! |
No comments:
Post a Comment